YESSSSSSSSSSSSSSSSSSSSSSS. My favorite thing to teach, of course! And since it's the second to last week of school, we finally have a little more liberty when it comes to planning artsy, creative activities.
Check out some of my favorite owl books and the accompanying art projects. As I've said all throughout this year, it's amazing to me that kindergartners produced this work. The custodian came in my room this afternoon and said "YOUR CLASS DID THAT? It looks like a much older grade!"
Here are a few of my favorite owl books, along with the publisher synopsis for each:
 When the sky grows dark and the moon glows bright,
everyone goes to sleep . . .
except for the watchful owl!
With a spare, soothing text and beautifully rich and textured illustrations of a starry night, this is the perfect “book of sleep.” Join the owl on his moonlit journey as he watches all the other animals settle in for the night: some sleep standing up, while some sleep on the move! Some sleep peacefully alone, while others sleep all together, huddled close.
Il Sung Na makes his American debut with this gorgeous bedtime offering. While each animal rests in its own special way, little ones will also drift off to a cozy sleep.
It's evening in the forest and Little Owl wakes up from his day-long sleep to watch his friends enjoying the night. Hedgehog sniffs for mushrooms, Skunk nibbles at berries, Frog croaks, and Cricket sings. A full moon rises and Little Owl can't understand why anyone would want to miss it. Could the daytime be nearly as wonderful? Mama Owl begins to describe it to him, but as the sun comes up, Little Owl falls fast asleep. Putting a twist on the bedtime book, Little Owl's Night is sure to comfort any child with a curiosity about the night.
 Owls are supposed to be wise, but young Spotty Owl doesn't want to be wise. He wants to be silly! Father Owl, who is truly wise, wonders when Spotty will finally grow up and use his wisdom to help the other forest animals. When Father Owl has to go off to help another animal, and must leave Spotty on his own, Spotty decides: "I'll just pretend to be wise. Nobody will know I'm not." Soon he's visited by Suzy Squirrel. She has lost her acorns and wants Spotty to help her find them. He sings a song, pretending that it holds the answer to her problem. More animals come to him, each with a new problem, and he greets each animal with a new song. Is it possible that Spotty's silly songs might hold the answers to each visiting animal's problem? Every page of this amusing little fable is enhanced with delightfully funny illustrations by the popular artist Hans Wilhelm.
 It's not fair! All Little Owl wants is to go to bed at a reasonable hour, like his friends do. But no . . . Mama and Papa say little owls have to stay up late and play. So Little Owl spends all night jumping on his bed, playing on the jungle gym, and doing tricks on his skateboardbut he's hooting mad about it ! Children who have a hard time going to bed will love this fun twist on the universal dilemma.
 Little owl would love to learn to fly in time for her grandma's birthday. But flying is scary, especially when your brothers won't stop teasing you. Will anyone be able to help Little Owl face her fears? A warm and reassuring story.
 Uh-oh! Little Owl has fallen from his nest and landed with a whump on the ground. Now he is lost, and his mommy is nowhere to be seen! With the earnest help of his new friend Squirrel, Little Owl goes in search of animals that fit his description of Mommy Owl. But while some are big (like a bear) or have pointy ears (like a bunny) or prominent eyes (like a frog), none of them have all the features that make up his mommy. Where could she be? A cast of adorable forest critters in neon-bright hues will engage little readers right up to the story’s comforting, gently wry conclusion.

"I want my mommy!" Three baby owls awake one night to find their mother gone, and they can’t help but wonder where she is. What is she doing? When will she be back? What scary things move all around them? Stunning illustrations from striking perspectives capture the anxious little owls as they worry. Not surprisingly, joyous flapping and dancing and bouncing greet the mother’s return, lending a celebratory tone to the ending of this comforting tale. Never has the plight of young ones who miss their mother been so simply told or so beautifully rendered.
Owl Baby Paintings
Materials: 8.5"x11" black paper (background), 2 inch strips of brown construction paper (branch and eyes), small green squares of construction paper (leaves), white tempera paint, cotton balls (paintbrushes), brown, orange and white crayon (beak and words on back)
Directions: Success of this project is highly dependent on modeling! Show students how to cut a tree branch out of the brown paper and cut leaves out of the green paper. Glue branch and leaves and the bottom of the black page. Show students how to dip the cotton balls in white paint and dab them on the paper in a circle to make fluffy owl babies. When the paint is dry, have students add brown eyes with the leftover brown construction paper from the branch, draw an orange beak and write a sentence or two about their owls on the back.
Construction Paper Owls
Materials: 8.5"x11" black paper (background), 1 inch strips of construction paper in various colors (feathers), small rectangle scraps of construction paper (eyes), white crayon (name/words on back)
Directions: Success of this project is highly dependent on modeling! Draw an upside down triangle on your paper in white crayon. Take 1" strips and show students how to cut diagonally up the strip to make triangles. Begin by putting one triangle scrap right side up on the bottom tip of the drawn triangle. (This step isn't pictured; I didn't realize it looked slightly off until we'd finished ours.) Slowly layer upside down triangles from left to right up to the top of the drawn triangle. Cut three different circle pairs out of the small rectangle scraps for the eyes. Use triangle scraps for ears and beak.
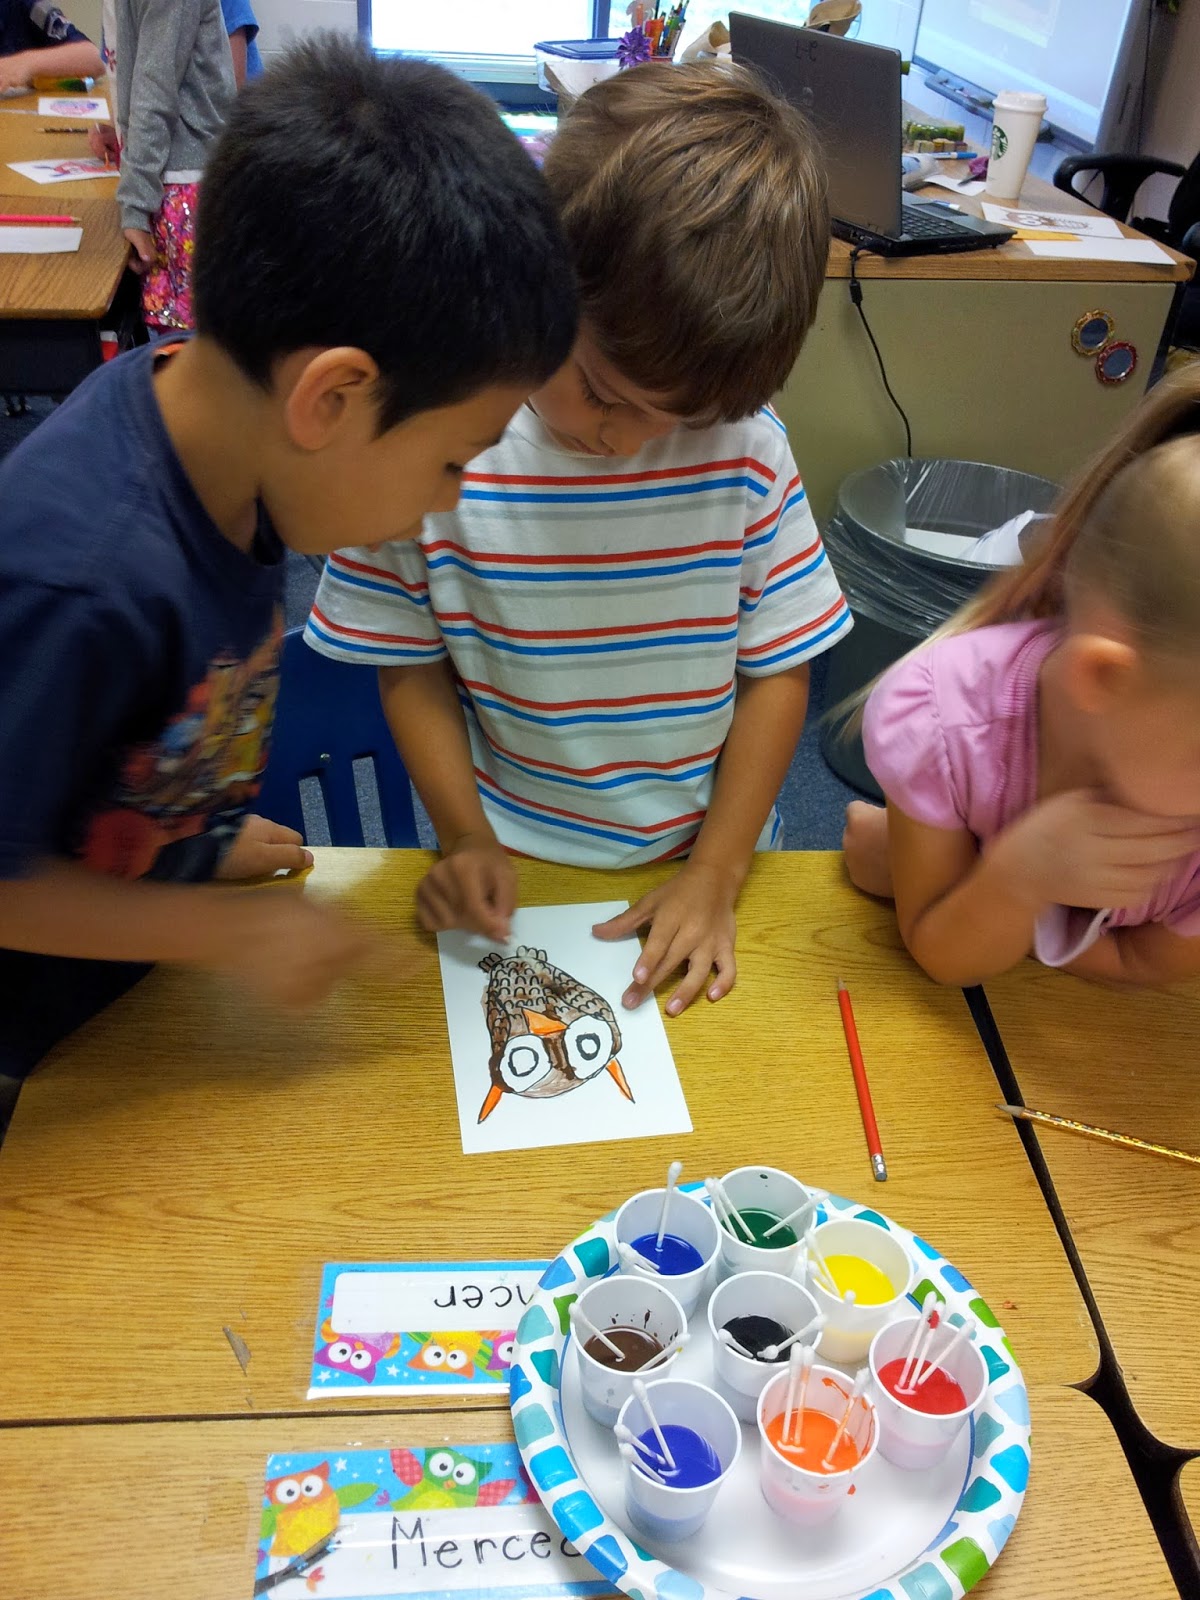
Mixed Media: Watercolor & Construction Paper Owls
Materials: 8.5"x11" black paper (background), 2 inch strips of brown construction paper (branch), small yellow squares of construction paper (moon), white crayon (stars/name on back), 5.5" x 8.5" white cardstock (owl), watercolor paint (or tempera paint with 1:3 parts paint to water), q-tips (for paintbrushes), sharpie markers (outlining)
Directions: Success of this project is highly dependent on modeling! Begin by creating the background. Show students how to cut the brown paper to look like a branch and the yellow paper to look like a circular moon. Instruct students to glue these on their black paper and then draw several stars with white crayon.
Collect background pages and give students half sheet of cardstock. Do a guided drawing to show them step-by-step how to draw an owl. As you say each step aloud, draw it on the board. (1. Draw a strawberry shape in the middle of your paper. 2. Add two triangle ears. 3. Add two curved lines to make wings. 4. Add W's with an extra U to make feet. 5. Draw two large circles for eyes. 6. Add a beak with a V or an upside down triangle. 7. Add U's to the belly in rows of 4-5 to make feathers. 8. Add wave-like lines (or continuous w's) to the wings for the look of feathers. 9. Add eyeballs looking up, down, left, right or straight ahead.)
Once students have drawn their owls in pencil, allow them to trace over their pictures with black sharpie or similar permanent marker. This will make the lines stick out through the paint. Then allow students to add color using watercolor paints, painting carefully and deliberately.
Once the owls have been painted and dried (we let them sit on the drying rack through lunch and recess), cut the owl out and glue them on the background.
I think this one is my favorite. It looks like it could
be a comic strip character that you'd grow to love, right?
Maybe I just like him because he looks like he skipped his morning coffee.
Note that EACH project placed emphasis on the importance of modeling. You HAVE to do the project with your students step-by-step before they begin or as they go or you cannot expect good results!
Let me know how these go if you do them in your class! I hope your kiddos enjoy them as much as mine did.